Configuring SmartSolve Data Sources
New data sources can be created from the Gen 5 Forms Designer workspace.
- From the Administrator Tools tab on the SmartSolve Portal Page, click Designer > Forms Designer.
- From the top menu, select Form > Open to open an existing form or select Form > New to open a new form.
- Expand the Data Sources section on the left side of the design canvas.
Result: The Data Sources section is displayed.
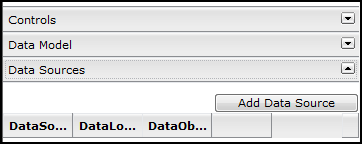
- Click the Add Data Source button.
Result: The Data Sources window is displayed.
![]()
- Enter the appropriate information in the fields:
- Yes is usually selected for more efficient response time for data that is not changed frequently, such as Severity and Category.
- No is usually selected for data that is changed frequently, such as Part Number and Client.
| Field | Description |
|---|---|
|
Data Source Name |
Enter the name of the data source, such as actor. |
|
Data Lookup Type |
Click the drop down button and select the type of lookup to load from another entity, extended entity, or list in SmartSolve. Select the source for which the data source will be used, such as SmartSolve Data. |
|
Data Object |
Click the drop down button and select the SmartSolve data object to be used for the source, such as actor. If needed, configure a data filter for the data object. |
|
Data Key Field |
This field is populated with the SmartSolve data key for the data object selected above, such as ACT_ID for Actor. |
|
Fields List |
The Fields List displays all fields used for the data object selected above, such as Code for Actor.
Delete Fields Click the
Add Fields Click the Select button and check the fields to be added . |
|
Order By |
Click the Add button in this section if you want to configure the order by which the data will be sorted when the end user selects the data.
Configure Field and Sort Direction Double left click over the Direction and select appropriate Ascending or Descending option.
|
|
Cache Data |
Click the drop down button and specify if the data will be cached the first time it is fetched from the database. |

- Once all data sources have been added, click the Save and Close button.